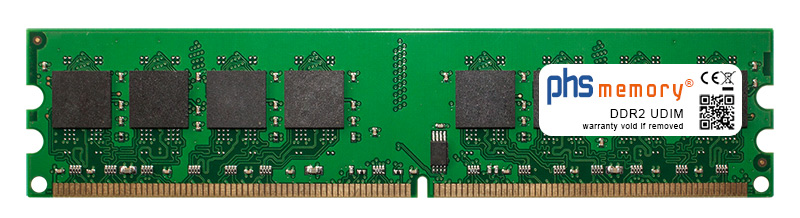
This installation guide for Long-DIMM memory modules with 168, 184, or 240 pins illustrates the correct installation of the purchased memory module. Please follow our notes and tips, and you can safely upgrade your device in just a few minutes.
Important! - Before Installing the Memory Module, Please Note the Following
Turn off the computer
Unplug the power supply (if connected)
If available, remove the device’s battery – see the user manual of the device
Protect the memory module from static electricity:
a. Absolutely avoid touching the gold contacts of the memory module
b. Only hold the memory by the side edges
Ground yourself before touching electronic components
Opening the case of some computers may void the warranty
Proper Grounding
Before touching electronic components, you should definitely ground yourself. This protects the component from irreparable damage due to electrostatic discharge from your body. We therefore recommend using an anti-static wrist strap.
To ground yourself properly without a wrist strap, simply touch an unpainted metal part, such as a radiator, faucet, or similarly grounded metal piece, right before you begin the installation. After that, try to start the installation process without creating much friction with clothing, chairs, or the floor. Artificial fibers or films can charge up particularly strongly and quickly. You should definitely avoid contact with these during installation.
Tips
Do not use excessive force
Only install compatible memory modules
Read the notes in your device manual before you start installing the memory module
Use only suitable tools to open the device
Take your time and work carefully
Memory Installation
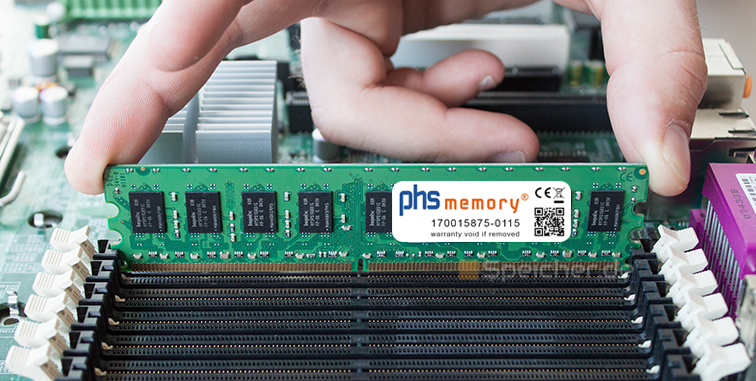
Once you are grounded, remove the memory module from the packaging and hold it with your thumb and index finger on the long sides of the memory module, ensuring you do not touch any components, especially the gold contacts.
To avoid incorrect insertion, the memory module has a notch, and the memory socket has a key.
Older SDRAM memory modules have 2 notches. In this case, the memory socket must also have 2 keys for the memory to be inserted.
IMPORTANT!!
The notch(es) of the memory must fit exactly onto the key(s) of the memory socket. If necessary, rotate the memory module and try again. If there is no 100% match, you have the wrong memory module that does not fit your device.
If you received the wrong memory module, we need the following information to resolve the issue:
Name/Manufacturer of your device
Exact model designation
Serial number of the device
Barcode number on the delivered memory
Detailed description of the problem
Please send us this information via email, including your customer or invoice number, to info@speicher.de.
A detailed guide on how to obtain the above information can be found here.
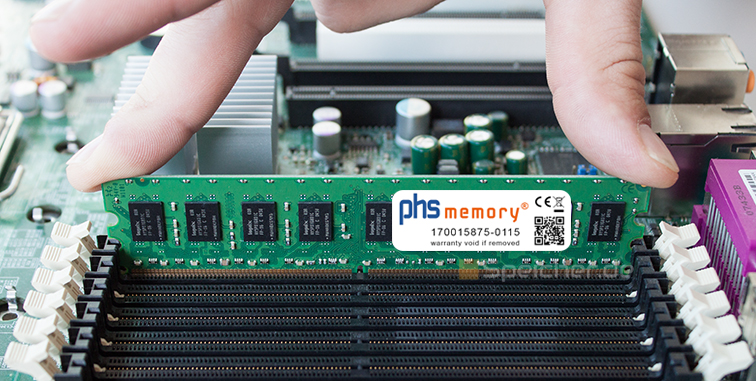
Open the retention clips of the memory socket. Insert the memory module into the guiding slot of the memory socket. Always ensure that the notch(es) of the memory module align 100% with the key(s) of the memory socket.
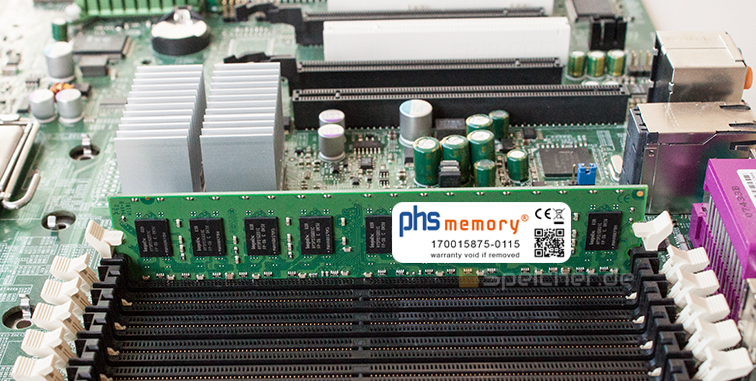
Press down evenly on both sides of the memory module into the memory socket until the retention clips of the memory socket snap into place.
The installation of the memory module is now complete. You can now close the device again.
Disclaimer / Copyright
Changing computer components is done at your own risk and should only be performed by individuals with appropriate experience. We are not liable for any personal or material damages that may occur.
This guide is the property of PHS-electronic GmbH and may not be copied or reproduced without the consent of PHS-electronic GmbH.